
What Impacts Consistency in Brass Cabinet Hardware Finishing?
Finish consistency depends on more than the final coating. Raw brass, machining, polishing, cleaning, chemical treatment, curing, handling, and inspection all influence the visible result. Strong brass hardware finishing control connects these stages so each part follows one approved route.
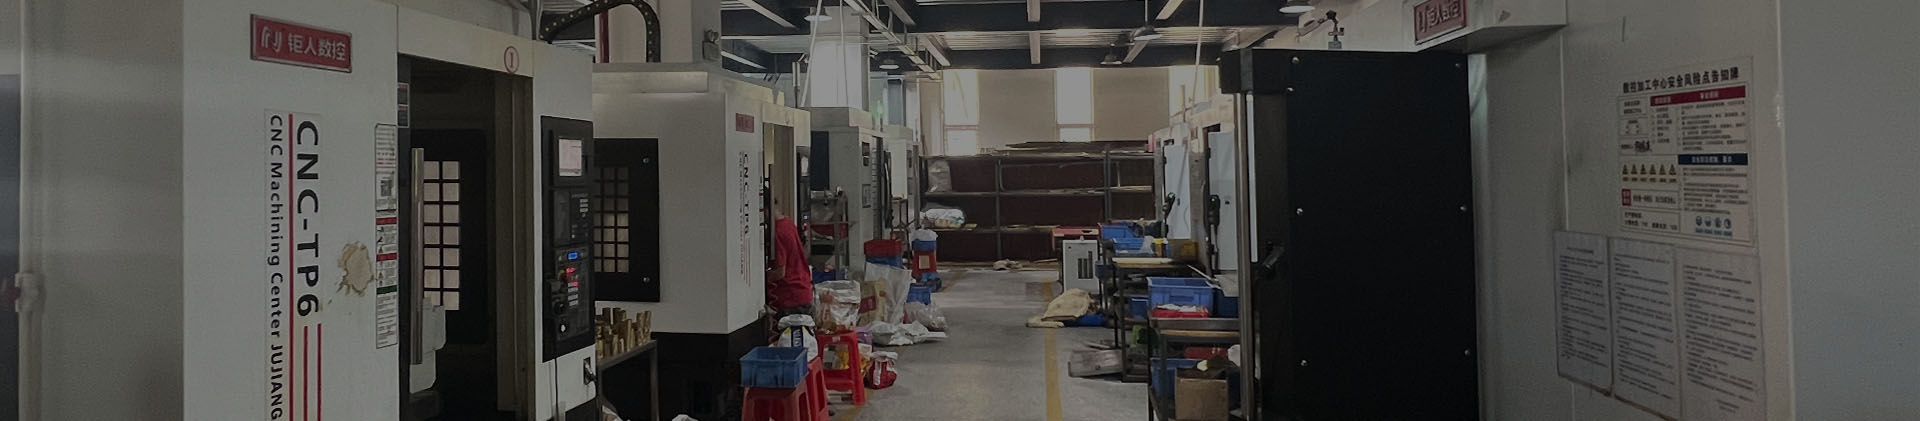
Raw Parts Need a Stable Starting Point
Cast, forged, or machined components should enter finishing with repeatable dimensions and surface quality. Pores, tool marks, dents, uneven radii, and deep repairs reflect light differently after polishing. Alloy variation may also affect color during treatment.
Incoming checks should compare material records, part weight, and surface defects. Parts requiring excessive grinding should be separated because local removal may change the profile and create bright zones.
Polishing Must Be Repeatable
Abrasive grade, wheel condition, speed, pressure, contact angle, and work sequence influence gloss and surface direction.
Brushed finishes need a stable grain. Changes in belt wear or operator direction become obvious when handles are installed in one row. Instructions should identify visible faces, brushing direction, line depth, and the tool replacement point.
Cleaning Controls Adhesion
Polishing compounds can remain in recesses, threaded bosses, and corners. Poor cleaning may cause cloudy lacquer, dark spots, weak plating adhesion, or stains after packing.
Cleaning should control solution concentration, rinsing, drying, and the delay before coating. Operators should use clean gloves so fingerprints do not reintroduce oil or salts.
Chemical Treatments Drift Over Time
Patination and plating are affected by concentration, temperature, contamination, loading, and treatment time. A finish may change after many racks unless the bath is monitored.
For finishing consistency brass hardware orders, records should connect each rack with bath readings and processing time. This helps trace why one group appears warmer, darker, or less uniform.
Coating and Curing Affect Tone
Transparent coatings influence both protection and appearance. Film thickness, spray overlap, oven temperature, and cooling affect color and gloss. Recesses and sharp edges may receive less coating than flat faces.
Curing records should use actual process readings rather than equipment settings alone. Parts should cool before inspection or packing because warm surfaces can appear different and may trap moisture.
Inspection Requires One Reference
A manufacturing supplier should retain a signed physical master sample for every finish code. Photographs cannot replace the sample because cameras and screens change color.
Inspectors need fixed lighting, neutral surroundings, consistent distance, and the same part orientation. Surface angle can alter the perceived tone.
| Control stage | Required evidence | Main risk |
|---|---|---|
| Raw material | Alloy and lot record | Base-tone variation |
| Polishing | Tool and sequence record | Gloss or grain drift |
| Cleaning | Rinse and surface check | Residue or weak adhesion |
| Treatment | Bath readings and time | Tone variation |
| Coating | Application and curing log | Uneven gloss |
| Final inspection | Master sample and lot ID | Mixed-color shipment |
Handling and Packing Still Matter
Bare-hand contact, tools, stacked parts, loose screws, and rough dividers may damage an approved finish. Each visible piece should be protected and screws kept separate. Packing materials need checks for rubbing, moisture retention, and chemical transfer.
Cartons should carry lot identification so distant production runs are not mixed without review. Where visual tolerance is strict, pieces for one room can be grouped from the same controlled batch.
Consistent finishing comes from discipline at every stage. Stable raw parts, repeatable polishing, clean surfaces, monitored treatments, controlled curing, shared inspection references, and protective packing make the approved appearance reproducible beyond the first sample.